
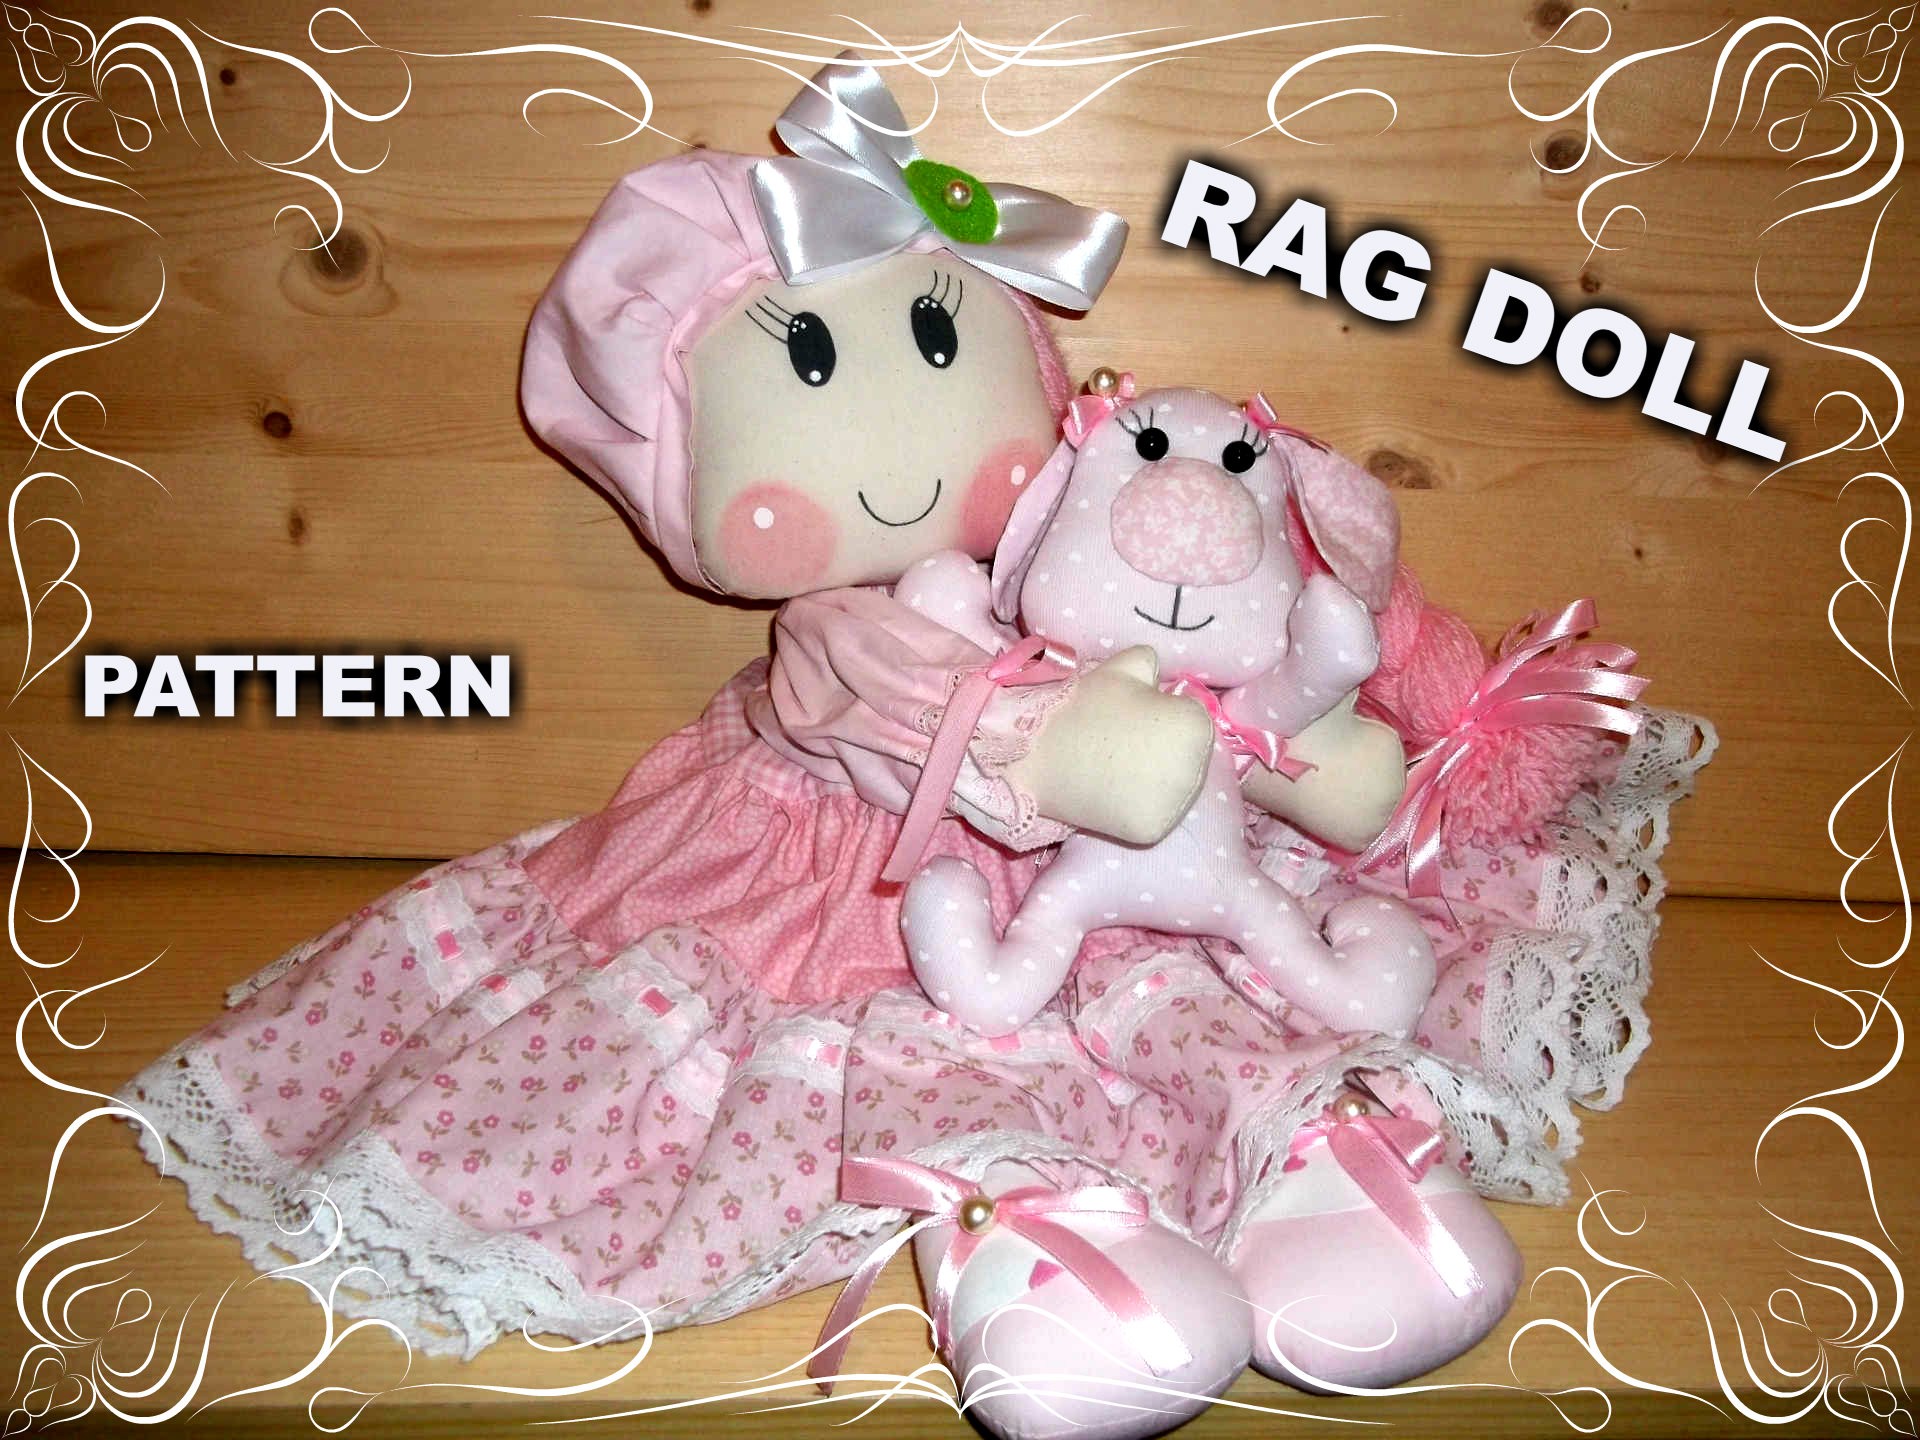
Mini Soft Rag Doll Pattern
Mini Soft Rag Doll Pattern

This simple fabric-stitched toy
has grabbed the hearts of children
and adults.
Please scroll to the very bottom of
this page for free Mini Soft Rag Doll
Pattern. PDF sewing pattern. If you
post photos online of your creations
that you made using my tutorials,
please link back to my tutorial or
my blog. Pattern is on a full size.
The seam allowance for the Cloth Dolls
has already been put on the pattern,
(6mm. 1/4 inch.)
I will also invite you to join a friendly
and supportive Facebook group:
MATERIALS needed
Craft Velour – Doll Face color – 100% polyester;
Polyester fiberfill;
Sewing supplies and thread to match
your doll’s skin;
Water-soluble pencil or disappearing
ink pen, to mark your fabric;
Sewing machine;
Pins or sewing clips;
Scissors;
Embroidery needle for hand sewing;
Doll needle;
Doll eyes
Embroidery thread
Cotton fabric
Elastic
Powdered blush make-up
Acrylic yarn for hair.
DOLLMAKINg TUTORIAL
General Instructions
Before beginning the project, read
through all instructions.
RST= right sides together;
RSO=right side out;
WST = wrong sides together.
Use sharp scissors appropriate in
size for the project.
I recommend hand sewing but some
seams can be sewn on the machine
if you prefer.
Mini Soft Rag Doll Pattern
I’ve made 4 of the tiny dolls in
different skin tones, and am
continuing to create more, with
some variations on the dresses.
Cloth Doll & Clothing Pattern and Instructions
Follow me in my Etsy Shop .
Instructions for the body
Fold body fabric (Craft Velour – Doll
Face color) with right sides together:
ARM: cut 2 pair;
HEAD BACK: cut 2;
Now cut your Craft Velour Doll Face
fabric in a single layer:
HEAD FRONT – upper part – Cut 1
HEAD FRONT – lower part – Cut 1
Fold body fabric (Craft Velour – Blue)
with right sides together:
SLEEVE: cut 2;
SHOES: cut 4;
SOLE: cut 2 reverse;
PANTIES: cut 2;
Now cut your Craft Velour – Blue in a
single layer:
PANTIES – Lower part: cut 1
BODICE FRONT: cut 1;
BODICE BACK: cut 1.
Bodice – lower part – cut 1.
Cut a strip of fabric for the skirt,
long enough to get an effect slightly
curled, (not excessively high).
Sew the panties to the bodice, (front
& back) RST; sew.
Assemble the bodice matching shoulder
seam RST; sew. Sew side seams,
(Bodice & Panties), leave open the neck
and the bottom part. Hand sew the
lower part of the bodice. Turn right side
out. Stuff the bodice.
Mini Soft Rag Doll Pattern
SINGER – MACCHINA PER CUCIRE – 23 punti utili!
ARMS
I sew seams before cutting out the arm
parts. After drawing the pattern pieces
onto a double layer of fabric, folded
with right sides together, I pin all
the parts together inside the lines.
The parts are already together, pinned
and ready to sew. Just sew on line you
drew. Be sure to follow pattern pieces,
noting areas marked “leave open”.
Gather the top edges of the sleeves,
adjust to fit the bodice, and hand
stitch to the bodice. Stuff the arms
and close the opening with the running
stitch. Insert the arms inside the
sleeves and hand sew the base of the
sleeves to the arms.
Place the shoes right sides together
(RST) and sew along the center front.
Sew one of the shoe pieces to each leg,
(RST). Sew center back of leg and center
back of shoes. Set in sole matching front
seam to A and back seam to B.
Stuff the legs and shoes and close the
opening with the running stitch.
Hand sew legs to the panties.

HEAD
Sew the darts in the upper part and in
the lower part of the head front.
With right sides together pin the two
front faces and sew (RST).
Mini Soft Rag Doll Pattern

Fold head front along the dotted
lines and sew the side darts A.
(See Step 1).
Right sides facing, sew two head
pieces together. Leave the opening
the neck. Turn right side out through
the opening and stuff. Hand stitch the
head to the body.
Have a look where would you like to
position the nose and make a mark
with the felt-tip pen.
Cut round shape (from craft velour
fabric – doll face), it can be
different sizes, depending how big
nose you want. Use a running stitch
to sew around the circle of fabric,
not too close to the edges. Insert
stuffing and pull the two ends
of the thread tight.
Push the stuffing in to form a ball
(if it looks flimsy, add more stuffing)
and tie two ends of the thread together
in a double knot. Sew it onto the head –
on top of your felt tip pen nose mark.
Glue the eyes and embroider eyebrows.
Rag Doll Sewing Pattern, Doll Clothing Set
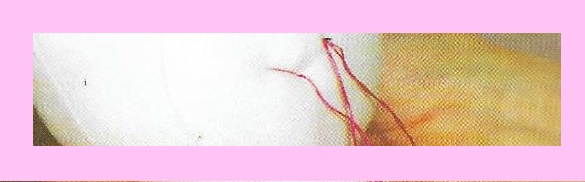
Mouth
To indent the corners of mouth, thread
a long dollmaking needle with strong
thread. Knot the end. Go into the back
of the head where the knot will
be covered by the hair. Emerge at one
corner of the mouth. Go back in just a
thread or two away and come out at the
back of the head. Pull on the thread
tightly, causing the corner of mouth
to dent into the fabric.
Make a knot. Repeat for the second
corner. Complete the mouth with the
embroidery floss (See Photo) of your
favorite color.
Mini Soft Rag Doll Pattern
The Hair
Make several loops of yarn about 3″
long and sew to point along the bottom
hairline (see photo). Glue the hair
into the doll’s head.

Mini Soft Rag Doll Pattern
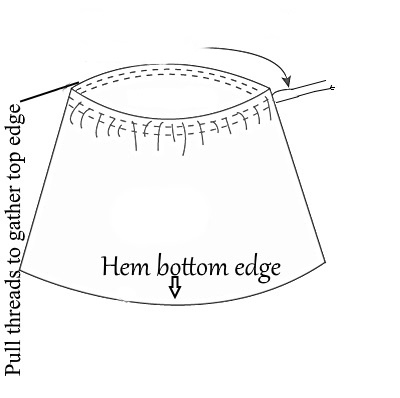
SKIRT
Sew up the center back of the skirt,
(RST). Now gather the top edge of the
skirt and pin to fit waist edge of
bodice with right sides facing.
Stitch in place.
Hem skirt on lower edge. Fold the
skirt in half, right sides together
and stitch the center back. Finish
the back seam using zigzag. For the hem:
you can simply hem the skirt by folding
over 1/2″ toward the wrong side and
then again and stitch. Or finish the hem
by simply encasing it in bias tape, which
is what I did.
Mini Soft Rag Doll Pattern
Thank you for using this Tutorial!
I hope it was helpful to you!
I am sure that you will create a
cute doll that will be an
unforgettable gift for you and
your family!
If after reading the Tutorial you have
any questions, you can email me at:
rossella.usai@libero.it
Sew toys with pleasure!

FREE-MINI-SOFT-RAG-DOLL-PATTERN
SEGUIMI SU:
Se desideri l’ispirazione quotidiana di
idee creative, assicurati di seguirmi su
DOLLMAKING TUTORIAL
Facebook,Instagram, Pinterest,YouTube e Etsy
Copyright © 2022
Rossella Usai
Calci (PISA) – ITALY
Come una nonna – Podcast di narrazione,
Storie per bambini e famiglie ♡
Ascolta su Spotify
via GIPHY
Copyright “©” 2021 Rossella Usai
Ogni diritto riservato.
Calci – Pisa – Italy
Manda un E-mail
In questo contenuto sono presenti
uno o più link di affiliazione.
Nel 1998 iniziai a cucire, specie
bambole scolpite ad ago. Adoro scrivere
Tutorial, progettare cartamodelli e
condividerli.
Amo anche la maglia, l’uncinetto la
tecnica Amigurumi e il ricamo.
Ho Shop online, dove sono disponibili
alcuni dei miei modelli, in particolare
su ETSY
La creatività fa parte della mia vita da
tanti anni, non potrei separarmene.
Tutti i diritti relativi a fotografie,
testi e immagini presenti su questo Blog,
sono di mia esclusiva proprietà (Copyright
“©” 2021 Rossella Usai). Tutto il contenuto
degli articoli pubblicati in questo Blog,
non può essere utilizzato senza il mio
permesso. Sentitevi liberi di creare e
vendere prodotti creati con i miei modelli.
Quando si condividono i miei schemi,
utilizzare un’immagine con un collegamento
diretto al modello. Questi sono disegni
originali realizzati da me quindi, per
favore, rispetta il mio lavoro.
Questo Blog, non essendo una testata
Giornalistica, viene aggiornato senza
periodicità, quindi non è un prodotto
Editoriale ai Sensi e della Legge n. 62
del 2001/07/03.
